Wednesday

99 Modern Quilt Blocks - Megan's Star Tutorial

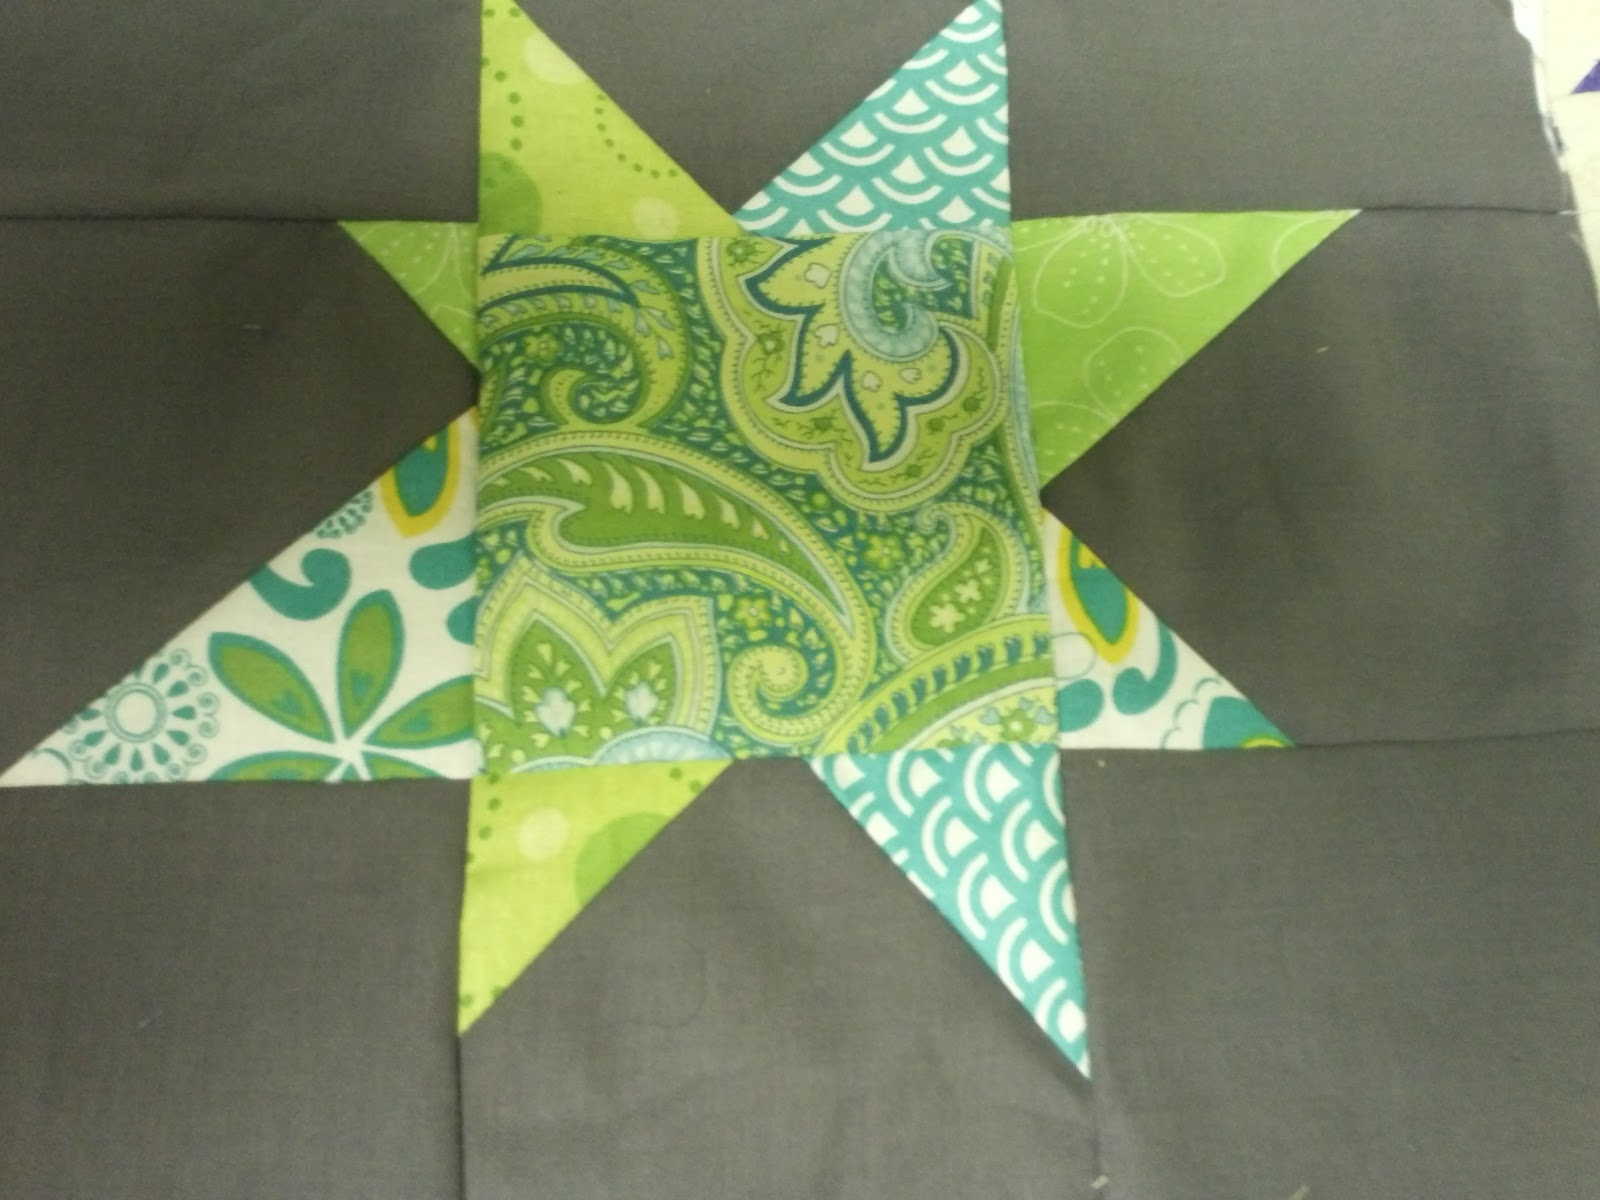
Lauralei's (Megan's) Star Tutorial


here are the cutting instructions:

Center
4 3/4" x 4 3/4" fussy cut on the diagonal

Center triangles
cut 2 squares 4" - cut on the diagonal to make 4 triangles

Star points
cut 8 squares 2 1/2"

Bacground
cut 4 rectangles 1 1/2" x 3 1/2 "
cut 8 rectangles 3 1/2" x 4 1/2 "

Corner triangles
cut 4 squares 2 1/2"

I chose to do a fussy cut on the diagonal for the center block

I also added the (optional) black strip to make the tiger stand out more.
sew triangles to the center block

right sides together, put a star square on corner of 3 1/2" x 4 1/2 " rectangle
You can draw a line on the diagonal or I just sewed across without the line by lining
up with a line on my machine plate


trim corner excess fabric


sew other corners till you have 4 sections 
** for the 4 corner triangles on the other 3 1/2" x 4 1/2 " rectangles
make sure you do 2 on one side and 2 on the opposite 
I lined them up so that faced the correct direction when you lay them out

sew the small strip to both side of the star rectangles


lay out all the pieces


Tuesday

Diamond Ripples Quilt Block Tutorial

Diamond Ripples Quilt Block Tutorial
from the book 99 Quilt Blocks - Modern Blocks
by Susanne Woods


This makes a 12.5" unfinished block

Cut 18 - 3" squares from background fabric (book says 2 7/8")
Cut 3 - 3' squares from 6 different fabrics - total of 18 squares


Draw a diagonal line on the wrong side of each background square.
With right sides together sew on both sides of the line - in one continuous line - do one side and the without cutting threads, do the other side - it makes one big circle and goes pretty fast this way

cut on the draw line in between your stitching


arrange the blocks near your sewing machine


I started on one side and flipped a block onto the block on the side of it and kept them in order and went down the line - or you could sew one by one - just keep them in the correct order


I sewed each column leaving the threads attached to maintain the correct order.
Then sewed the top two together, middle two, bottom two.
Then sewed top to middle, middle to bottom, etc

The I sewed the rows together.

other examples I found


Sunday

Wonky Star Quilt Block Tutorial


Cut 13 squares of fabric each cut 4.5" square.
       8 will be for the background         
       4 any color or pattern you choose for the star points - or all  different for a scrappy effect    
       1 any color or pattern you choose for  the center of the star     

Stack the 4 star point squares and slice in half diagonally

Select 4 of the background squares and 4 of the star point triangles.  


Stitch one triangle to the right side of each background square. Changing the angle of the triangles will help create the wonkiness of the star. 
      

Press - cut off excess background fabric on corner.


Sew the remaining 4 triangles to the left side of these 4 background blocks.


press
Cut off all excess fabric on corners - trim  to make 4.5" square.


stitch a completed star point square to both the left and right side as shown 


sew a plain background square to both the left and right sides to the star point squares


Line up the seams, stitch the top row to the middle row. Repeat with the bottom row.


This technique was first devised by Gwen Marston and shown in her  book Liberated Quiltmaking.  I also saw it in Modern Blocks: 99 Quilt Blocks from Your Favorite Designers by Susanne Woods

Be sure to join up in the Flickr group here:  Happy Scrap Quilt block Swap