My flosstube video about Cross Stitch
Friday
Cross Stitch has grabbed my attention!
The last year has been filled with sewing, quilting, walks and movies.... and now obsessively cross stitch!
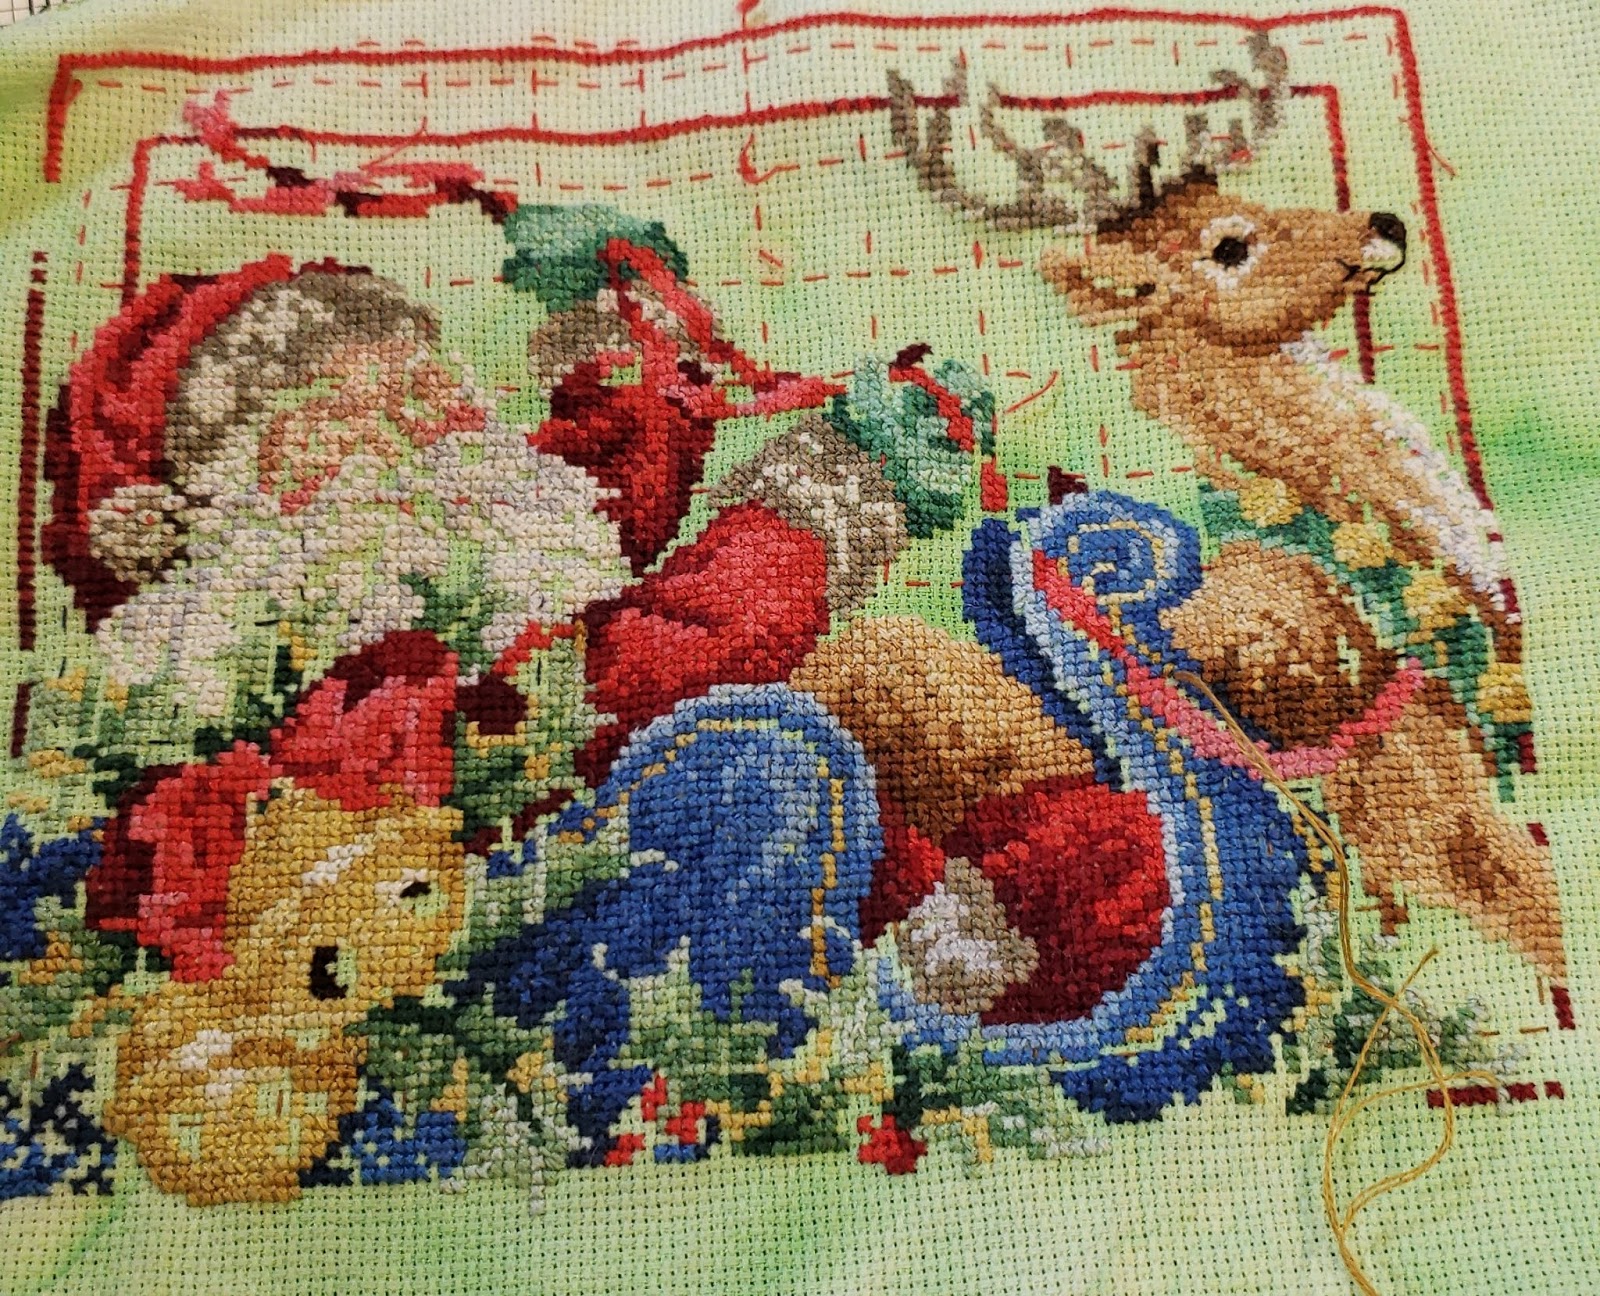
Here are some of the projects i have been working on and the progress - or wips as we call them - Works in Progress


Visit an Etsy shop - check it out
https://www.etsy.com/shop/lauralei143
or find me on YouTube
https://www.youtube.com/user/lauraleiproperties
Here are some of the projects i have been working on and the progress - or wips as we call them - Works in Progress

Charles Wysocki cat on a book shelf

st louis skyline

Christmas stocking - Charles Wysocki

snowmen

hands on design "woof"

id wallet (not cross stitch :)


Visit an Etsy shop - check it out
https://www.etsy.com/shop/lauralei143
or find me on YouTube
https://www.youtube.com/user/lauraleiproperties
Sunday
My Mizzou Quilts
 I have spent the last several months before Christmas working on 3 Mizzou quilts. I has been great and it has been tiring. They turned out really good and the kids loved them.
Actually since I have finished them, I find myself wondering what to do with myself half the time :)
Machine Quilting - free motion - first client quilt
I just finished my first free motion machine quilted client quilt - and I think it turned out great. My very first client, Shirley, was so thrilled she gave me several more to do. She was happy with the quilting design and ecstatic about the super low quilting fee. She was happy to benefit from my "practice" pricing.

I have been quilting for 25 years and machine quilting for just about as long, but this has been my first time machine quilting on a frame. There is a definite learning curve. But I love it!
I did the sewing on a domestic Singer sewing machine, but I have ordered off Ebay a Pfaff Expression 2.0 with a 10" throat space. Right now the Singer only has a 7" throat space from the right of the needle. I think this will help a lot.

The quilt pattern is Dresden Plate and was pieced nicely, so it layed nice and flat. That made it nice to quilt.
I stippled around the applique dresden plates and on all the borders I did a free style free motion heart pattern.

Monday
Random Reflections quilt block tutorial
Random Reflections was posted free on Moda Bake Shop's blog and I love the design possibilities and the ease of the sewing on this block.

I cut strips 1 1/2" of different scraps and of solid white material.
I constructed it two different ways - the one way is to do one block at a time by sewing a scrap strip to a white strip - the second was is to make the strips longer and sew a white strip on each end of the scrap strip - and then cut down the middle and you have made 2 blocks at one time.
Both methods go together very quickly.
You then sew 6 of the strips together and trim to 6 1/2" square
Here are some of the combinations you can lay them out

This one would make a great bookshelf style quilt


Wednesday
99 Modern Quilt Blocks - Megan's Star Tutorial
Lauralei's (Megan's) Star Tutorial
here are the cutting instructions:
Center
4 3/4" x 4 3/4" fussy cut on the diagonal
Center triangles
here are the cutting instructions:
Center
4 3/4" x 4 3/4" fussy cut on the diagonal
Center triangles
cut 2 squares 4" - cut on the diagonal to make 4 triangles
Star points
cut 8 squares 2 1/2"
Bacground
cut 4 rectangles 1 1/2" x 3 1/2 "
cut 8 rectangles 3 1/2" x 4 1/2 "
Corner triangles
cut 4 squares 2 1/2"
Star points
cut 8 squares 2 1/2"
Bacground
cut 4 rectangles 1 1/2" x 3 1/2 "
cut 8 rectangles 3 1/2" x 4 1/2 "
Corner triangles
cut 4 squares 2 1/2"
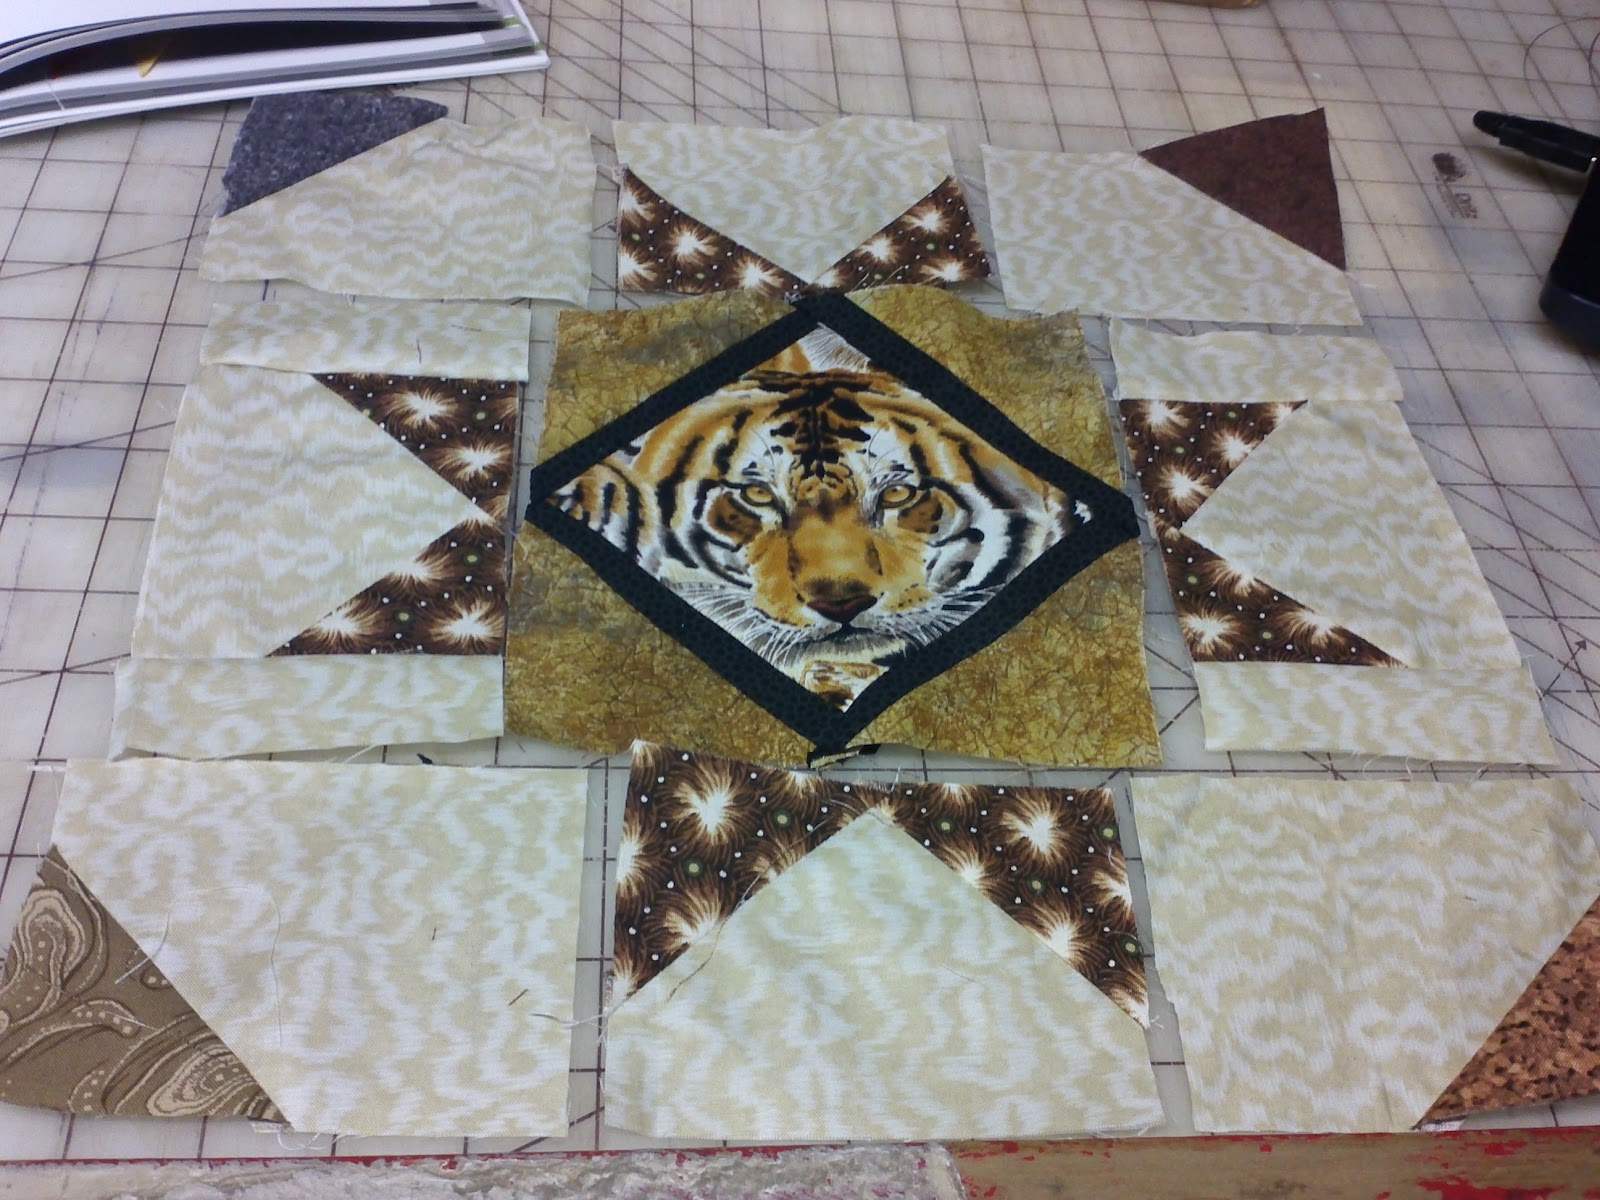
I chose to do a fussy cut on the diagonal for the center block

I also added the (optional) black strip to make the tiger stand out more.
sew triangles to the center block
sew triangles to the center block

right sides together, put a star square on corner of 3 1/2" x 4 1/2 " rectangle
You can draw a line on the diagonal or I just sewed across without the line by lining
up with a line on my machine plate

trim corner excess fabric

sew other corners till you have 4 sections
** for the 4 corner triangles on the other 3 1/2" x 4 1/2 " rectangles
make sure you do 2 on one side and 2 on the opposite
I lined them up so that faced the correct direction when you lay them out

sew the small strip to both side of the star rectangles

lay out all the pieces

Tuesday
Diamond Ripples Quilt Block Tutorial
Diamond Ripples Quilt Block Tutorial
from the book 99 Quilt Blocks - Modern Blocks
by Susanne Woods

This makes a 12.5" unfinished block
Cut 18 - 3" squares from background fabric (book says 2 7/8")
Cut 3 - 3' squares from 6 different fabrics - total of 18 squares

Draw a diagonal line on the wrong side of each background square.
 With right sides together sew on both sides of the line - in one continuous line - do one side and the without cutting threads, do the other side - it makes one big circle and goes pretty fast this way
cut on the draw line in between your stitching

arrange the blocks near your sewing machine

I started on one side and flipped a block onto the block on the side of it and kept them in order and went down the line - or you could sew one by one - just keep them in the correct order

I sewed each column leaving the threads attached to maintain the correct order.
Then sewed the top two together, middle two, bottom two.
Then sewed top to middle, middle to bottom, etc

The I sewed the rows together.
other examples I found


Subscribe to:
Posts (Atom)